How to Host a Virtual Cooking Class for Seniors: Step-by-Step Guide
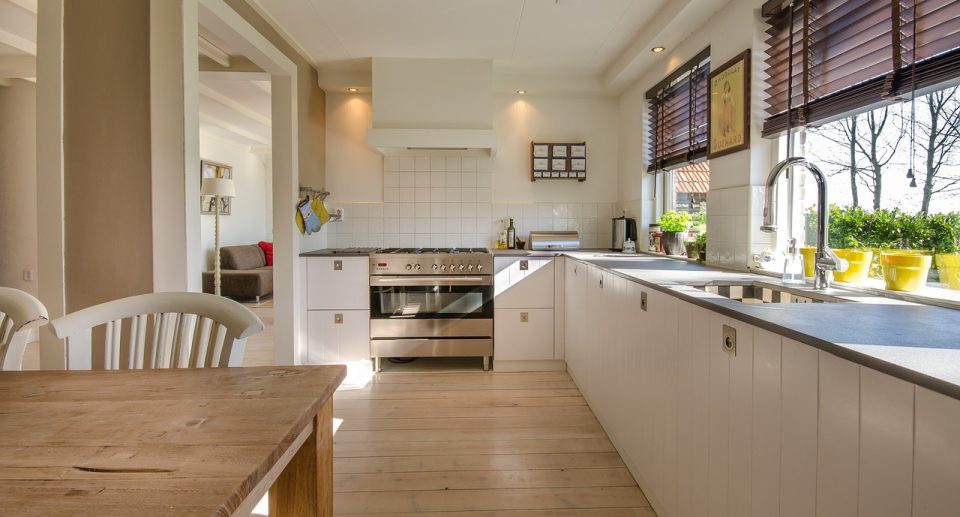
Hosting a virtual cooking class for seniors is a wonderful way to engage, educate, and foster a sense of community. Whether you’re a culinary enthusiast, a community leader, or a caregiver, guiding seniors through a cooking class can create memorable experiences while promoting healthy eating habits. This step-by-step guide will help you organize and execute a successful virtual cooking class tailored specifically for seniors.
Step 1: Define Your Class Goals
A. Identify the Purpose
Start by determining the primary purpose of your cooking class. Consider the following:
- Skill development: Are you teaching basic cooking skills, or focusing on specific cuisines?
- Health and nutrition: Will the class highlight healthy recipes for specific dietary needs, such as low-sodium or diabetic-friendly meals?
- Social engagement: Is the goal to connect seniors and encourage social interaction?
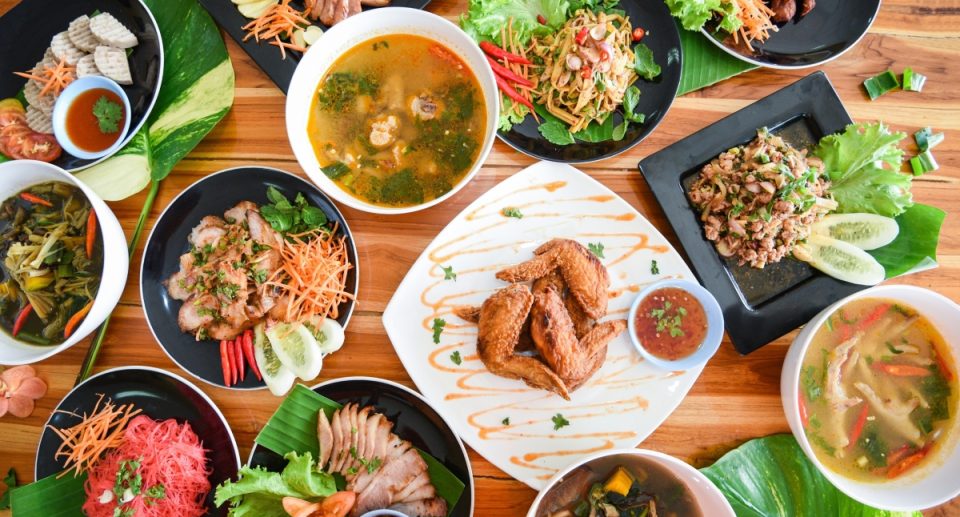
B. Choose a Theme or Menu
Select a theme that resonates with seniors. Popular themes include:
- Comfort foods: Dishes that evoke nostalgia and warmth.
- Seasonal ingredients: Focusing on what’s fresh and in-season.
- Quick and easy meals: Recipes that can be prepared in under 30 minutes.
Once you’ve chosen a theme, create a simple menu that includes 2-3 recipes that participants can realistically make at home.
Step 2: Plan the Logistics

A. Select the Right Platform
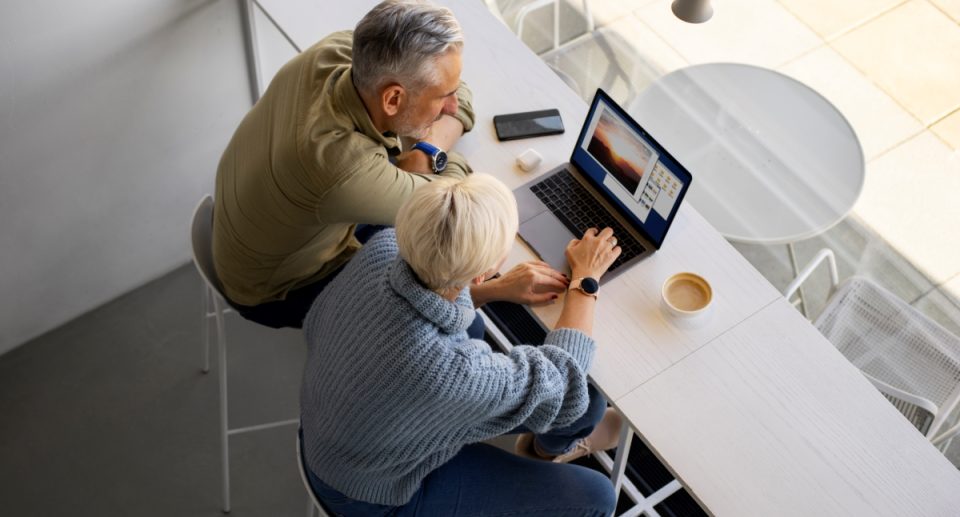
Choose a user-friendly platform for hosting the virtual cooking class. Some popular options include:
- Zoom: Allows for easy screen sharing, breakout rooms, and recording features.
- Google Meet: Simple to use with no download required for participants.
- Facebook Live: Great for reaching a wider audience if your group is familiar with the platform.
B. Schedule the Class
Pick a date and time that is convenient for seniors. Consider factors like:
- Time zones: If participants are in different locations, try to accommodate varying time zones.
- Avoiding conflicts: Be mindful of common schedules, like doctor appointments or weekly activities.
C. Gather Supplies
Create a list of ingredients and cooking supplies needed for each recipe. Share this list with participants ahead of time, allowing them to prepare and gather everything they need.
Step 3: Promote Your Class
A. Reach Out to Seniors
Utilize various communication methods to inform seniors about your cooking class:
- Email: Send out a detailed invitation with the class details, menu, and any preparation instructions.
- Social Media: Post on community group pages or senior-focused platforms to reach a broader audience.
- Local Senior Centers: Partner with senior centers or community organizations to spread the word.
B. Encourage Participation
Encourage seniors to invite friends and family members to join the class. A collaborative cooking experience can enhance the enjoyment and provide extra support.
Step 4: Prepare for the Class

A. Create a Class Outline
Outline the structure of your cooking class. A sample outline might include:
- Introduction (5 minutes): Welcome participants, introduce yourself, and share the agenda.
- Demonstration (30-40 minutes): Cook the recipes step by step, explaining techniques and tips along the way.
- Q&A Session (10-15 minutes): Allow participants to ask questions about the recipes or cooking techniques.
- Wrap-Up (5 minutes): Conclude with a class summary and encourage participants to share their cooking experiences.
B. Test Your Equipment
Before the class, ensure that your internet connection, camera, and microphone are working properly. Familiarize yourself with the chosen platform, including sharing your screen, muting/unmute participants, and managing any technical difficulties.
Step 5: Host the Class

A. Engage Participants
As you lead the class, keep participants engaged by:
- Encouraging interaction: Ask questions and invite participants to share their experiences or variations on the recipes.
- Offering tips: Share helpful cooking tips or adaptations that cater to dietary restrictions.
- Being patient: Remember that some seniors may need extra time to follow along.
B. Monitor Participation
Pay attention to participants’ engagement levels. If someone seems confused or is struggling, offer additional support or ask if they have any questions.
Step 6: Follow Up After the Class

A. Send a Thank You Email
Send a follow-up email to participants, thanking them for attending. Include:
- Class recap: Summarize the recipes and any key points discussed.
- Additional resources: Share links to recipes, cooking tips, or videos that reinforce the class content.
- Feedback request: Encourage participants to provide feedback on the class for future improvement.
B. Encourage Continued Cooking
Invite participants to share photos of their finished dishes on social media or in a dedicated group. This fosters community and encourages ongoing engagement with cooking.
Conclusion
Hosting a virtual cooking class for seniors is a rewarding experience that can help build connections and promote healthy eating. By following this step-by-step guide, you can create a fun and educational environment where seniors can learn new skills, share experiences, and enjoy the joy of cooking together. Whether you’re teaching a simple recipe or exploring new cuisines, the impact of your efforts will resonate well beyond the kitchen.

